Xbox console gaming, no doubt, is in trend. Xbox is from Microsoft and has its line of different consoles on which gamers love spending their time playing different games. To play on an Xbox console, you need one or more controllers according to the number of players and a TV screen.
It may so happen that either your TV is not working or someone elderly in your home needs it for watching a useful program. Well, in the case of the former situation, you simply cannot connect the Xbox to the TV. In case of the latter situation, you may end up giving the TV to the elderly. What if there is no TV at all?
Here, a laptop is convenient to use when there is no other monitor or screen to use. In this post, you will learn how to make your laptop screen an Xbox monitor for playing games. The good news is that there are different ways to do so.
Way 1: Using HDMI
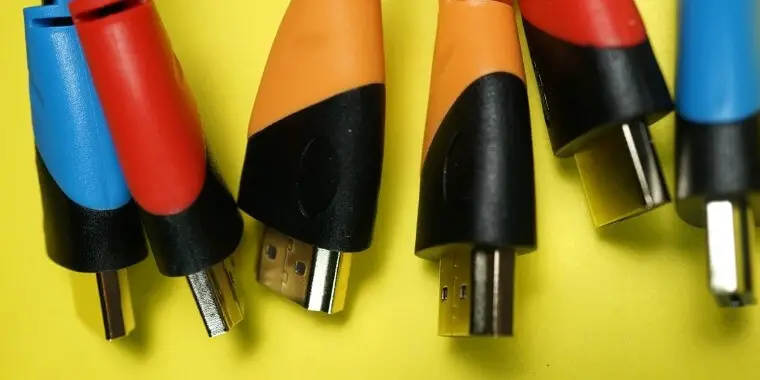
Can you use laptop as a monitor for Xbox by connecting them with an HDMI cable? Yes! It’s a really simple way to make your laptop display act as a gaming monitor for Xbox. Additionally, this cable comes with most laptop and Xbox models. Even if it is not, you can easily get it online.
It may seem to be as simple as connecting the HDMI or any other video input wire between the laptop and Xbox. However, it is not that easy, as you need to have the right HDMI port.
Do you know that there are HDMI input and HDMI output ports?
HDMI is the standard connection for the latest consoles for broadcasting audio and video. A smart TV or the latest TV model usually comes with a couple of HDMI input sources (ports) so that you can hook several HD sources.
However, in the case of Xbox that is the output source, the console transmits the data to an HDMI input port. Nevertheless, laptops come with a bit different series of connections. Thus, it becomes necessary to check whether the laptop’s HDMI port can act as an input source or not.
Well, the fact is that only a handful of laptops come with an HDMI input port. Although your laptop’s HDMI port is there, chances are high for it to be an HDMI output port. In this case, your laptop is capable of streaming HD audio and video to an external monitor but not vice-versa.
Note: So, if your existing laptop does not have an HDMI port that can be the input source of Xbox, this method will not work for you. If you still wish to use an HDMI connection, you need to buy an HDMI adapter.
If you want HDMI input port on the laptop, here are the simple steps to follow:
- Ensure that you have Xbox, a laptop with an HDMI input port, and an HDMI cable.
- Identify the HDMI input port on the laptop.
- Plug your HDMI cable into Xbox’s output port.
- Plug the cable’s other end into the laptop’s HDMI input port.
- Select a suitable video source on the laptop.
- Turn ON the console as well as the laptop.
In a few minutes, your laptop should now cast the console interface. If the laptop is unable to detect this connection, you can fix this issue by using the laptop’s settings menu. Just go to system settings and look for the display settings of the device. Here, you need to customize the settings to make the necessary changes.
If you do not have an HDMI cable nor want to buy one, consider the following methods.u
Way 2: Use Your Laptop as a Monitor for Xbox Via Wireless Connection and Windows 10
This is the method to try if your laptop does not have an HDMI input port but has the latest Windows version. With Windows 10, you can connect Xbox to your laptop display wirelessly. The credit for the same goes to the DirectX feature integrated into the Xbox app as well as the operating system.
The app is compatible with Windows 10 and facilitates a more convenient as well as flawless connection for both devices. It comes with a myriad of features that are useful while connecting the console to a laptop.
A notable feature is its ability to provide control over the Xbox account’s administrative settings. It also allows you to join parties via desktop computer so that communication with fellow players becomes convenient while playing. Moreover, Windows 10 supports cross-platform multiplayer games too.
Apart from giving remote control over the console, the app provides an intuitive interface for better control. It has a typical button layout, which is useful for those who do not have touch-based input.
Above all, the app allows connecting and streaming games directly to a gadget running Windows 10. Nevertheless, the performance is reliant on the Wi-Fi’s speed and bandwidth. In short, the Wi-Fi connection needs to be stable for connecting the two devices.
Following are the steps to connect both devices via Wi-Fi:
- Ensure that both the console and the laptop are using the same Wi-Fi connection. If not, you need to type the IP address manually on both.
- Download the free Xbox app on the laptop from Microsoft Store. You can also find the app on other websites by searching on Google or Bing.
- Install the app.
- Open the app and sign in to register and create your account. This is the case if you are using the app for the first time. If your account is already created, simply log into your Xbox account.
- Switch the Xbox ON once you successfully log in.
- Enable game streaming on the console by navigating to Settings à Preferences and selecting the option, Allow game streaming to paired devices.
- Click the Connect icon just over the Settings icon triggered on the bottom left corner of the app’s dashboard.
- Click the Stream button next to More.
- Click Continue for attaching a controller to a laptop or console. You will now see that the two devices are connected to the same network.
Well done to you!

That’s it! Both the devices are connected and you now see the streaming from Xbox to your laptop. You can now easily play, record, and stream using your laptop as the Xbox console. The same steps also work for PCs hosting Windows 10. So, in case you do not have a laptop, you can perform the same steps on your PC.
This procedure may not work in case you have an old laptop. In this situation, you may need to access Basic Input Output System (BIOS) featuring advanced system settings and change some of its settings as per your requirements.
To do so, you start by turning off the laptop and linking it to a power source. Now, you boot the laptop. As soon as it boots, hold the F10 key for a few seconds and release it once the BIOS menu is displayed.
Here, the different BIOS options, such as those related to booting source, memory, hard drive, and troubleshooting, are displayed. Here, you need to change the settings to allow Xbox to connect. To know these settings, you will need the help of an engineer or an experienced person. You can restore the previous settings by pressing the F9 key while booting.
Controlling Xbox Content from Laptop
For streaming an Xbox game to a laptop in another room, you need to perform one more step. While a controller connected to the console can still control it while playing, its working range is limited.
In simple words, you will have to connect an Xbox controller to the laptop for playing a game through streaming. This is not important if you simply want to stream a video although a controller is still handy for pausing it.
The easiest way to do so is to plug the controller into the laptop using a micro USB cable. Doing so will make Windows 10 automatically detect the controller. In case you wish to go for a permanent fix, you can invest in a second controller and then pair the same to the laptop.
If you are buying it, do select the latest design for a Bluetooth-compatible laptop. If your laptop is old and does not support Bluetooth, consider a controller with a wireless USB dongle.
Chatting while Streaming

While streaming Xbox content to your PC, it is fun to have in-game as well as party chat. For this, it is essential to connect a headset or a microphone to the laptop prior to using the Xbox app for streaming. The headset can be USB-based, the one that works by connecting to the computer’s headphone jack, or the one connected to the Xbox controller.
No matter which one you use, ensure that the headset or microphone is the default device for communication. To do so:
- Go to the laptop’s control panel.
- Navigate to Hardware and Sound > Manage Audio Devices.
- Click the Playback tab.
- Right-click the intended headset and ensure that it is set as the default medium.
- Click the Recording tab.
- Right-click the microphone or headset to make it the default medium.
We think that you may also like:
Conclusion
What will you do to play on the Xbox console when TV is unavailable? Can you use your laptop as a monitor for Xbox instead? Definitely! You can simply make your laptop the Xbox monitor by using a compatible HDMI cable or Wi-Fi.