
The day has arrived. Your dream of owning a gaming PC is finally about to come true. After buying everything, you return home and plug in all the connections and cables.
However, things don’t go as you envisioned. Instead of the glorious Windows start screen, you see a message saying, “Asus monitor HDMI no signal.”
A cloud of sadness surrounds you as you worry about what went wrong. The Asus monitor signal issue isn’t new, so don’t panic.
Monitor power cable, HDMI connection, graphics card, input ports…any of these could be the potential culprit. Checked everything and still can’t fix the problem? Join us as we break down how you can solve this issue with a few simple tricks.
How to Fix Asus Monitor HDMI No Signal Issue
As we said earlier, the Asus monitor HDMI signal issue isn’t a new thing, and the solution is also very simple. However, it’s a time-consuming process, so, before starting, make sure you have plenty of time to burn.
Unfortunately, we don’t have much time to burn, so we’ll get straight to the point. Let’s jump right in.
Checking All the Cables
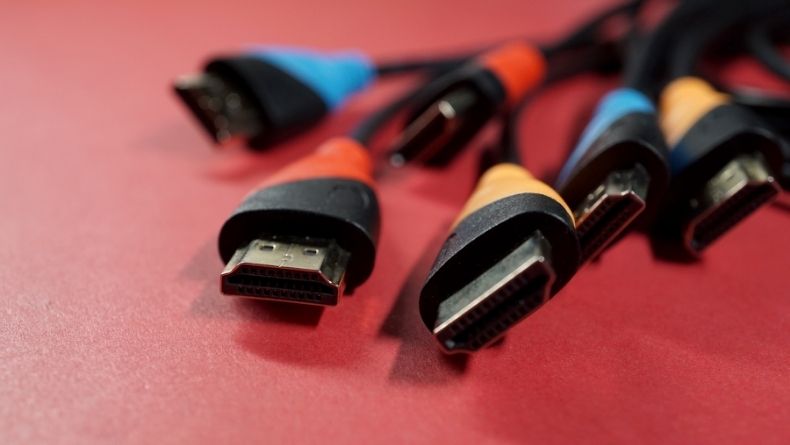
You’d be surprised how often people forget about checking their monitor cables, such as HDMI cables, VGA cables, DisplayPort cables, and power cables. Your first priority should be troubleshooting these cables.
Let’s assume that only your monitor is the problem. Your computer turns on, and everything is running fine. You can even hear your computer boot up through your sound system.
In this case, you have to check the monitor input source and output source. The input source is your PC, which sends signals, and the output source is your monitor, which receives them.
Unplug all the cables from both your PC and the monitor. This includes the power cable or power cord (also known as the power supply) and the HDMI cable.
Now connect your monitor to another input source. This could be a laptop or a gaming console, basically, anything with an HDMI port. If you’re in your office, connect it to another PC.
If you can get an HDMI signal, your PC is the problem. However, this is very unlikely. You’ll probably won’t get any signal, meaning that the HDMI cable is the problem. If you feel like your monitor is faulty, you can try connecting a different monitor to your PC.
If the HDMI cable is faulty, you’ll have to get a new one and try turning the monitor on again. Unfortunately, you can’t fix HDMI cables. Now make sure it’s firmly connected.
If your computer is running, and you’ve ensured all the cables are functional, then the problem lies somewhere else. Move on to the next solution.
Changing the Input Source
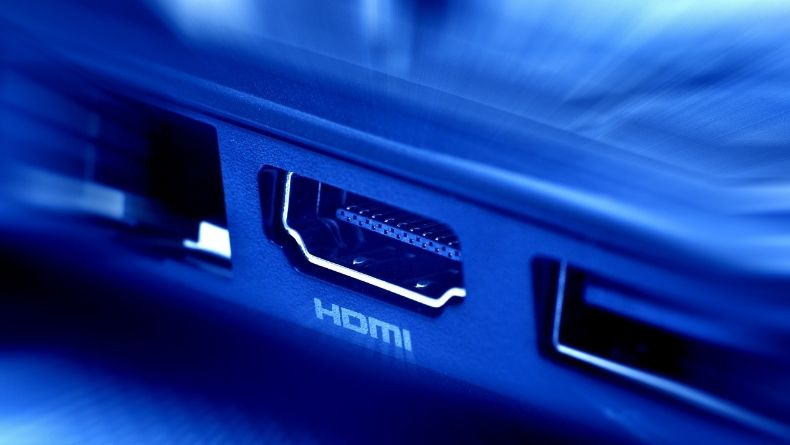
Assuming that you have a borderless FullHD+ Asus monitor, you’ll find multiple display input ports behind your monitor. Even the older ones have multiple inputs. Asus sets HDMI 1 (or sometimes 2) as the default input.
So, let’s just say your Asus monitor has HDMI 2 as its default input source. If you plug your HDMI cable into the HDMI 1 input, you’ll get no signal error message. You’ll only get a display signal if you plug your HDMI cable into an HDMI 2 port.
So, how do you change the input source? The best way would be to read the user manual for your monitor. Don’t worry if you lost the hard copy because a quick Google search using the Asus monitor model number will provide you with an online user manual.
Press the settings or options button on your monitor. It’s usually right beside the power button and can vary from monitor to monitor. When you press the options menu, a floating menu will appear.
Go to the input select option from there. Here you’ll see all the input options, such as HDMI 1, HDMI 2, display port, etc. Experiment with the options, and, once you hit the correct one, your monitor will output a display signal.
Turning Off the Monitor
Now you’ve changed all the cables and input sources, but still, no luck getting a signal? There is one last method to fix this issue, and, fortunately, this is the easiest one.
Asus monitors have a weird problem where they suddenly lose the signal. One night you’re using the monitor, and the next morning it doesn’t output any signal. This frequently happens in the older models in which they use power cables instead of AC/DC power supplies.
You’ll see that your Asus monitor displays a “no signal” message, shows a black screen, and then displays the “no signal” message again. This continues until you turn off your PC.
To fix this issue, you have to unplug the monitor power cable while the computer is turned on.
No need to touch the HDMI port. After unplugging the power cable, wait for 5 to 10 seconds and plug it in again. This should immediately give you a display output.
If even this fails, you can factory reset the monitor via the settings menu from the input source. But heed this warning: this will remove all custom settings you had, like a color profile or refresh rate. The monitor basically reverts to its original form.
Cleaning the RAM
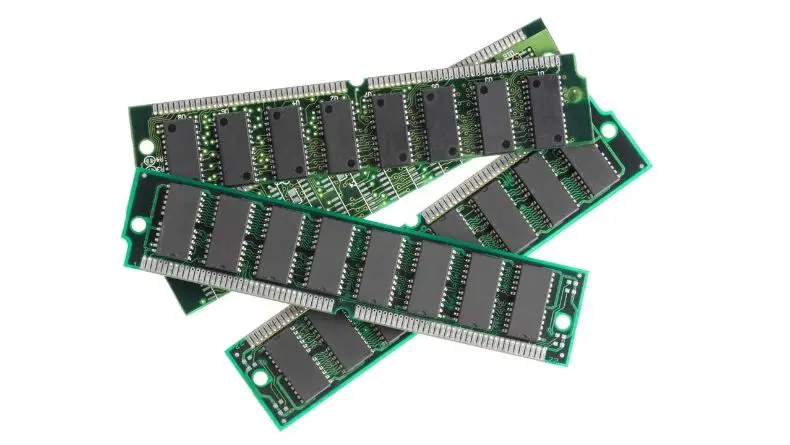
If both the monitor and PC don’t turn on, the issue might be on the PC side. It can be resolved by cleaning the RAM and the RAM slot. Turn off your PC, remove every power output cable, and open the case side panel.
Now gently remove the RAM stick from the slot, and take a soft-bristle brush to clean the slot. Don’t blow air with your mouth, though.
After cleaning the slot, take the rubber eraser of a pencil and gently wipe the bottom portion of the RAM slot. Don’t worry, the rubber won’t cause any damage.
After cleaning the RAM slot with the rubber, remove all the residue, and put the RAM stick back. You should hear a locking sound if it was correctly installed. Now press the power button and turn your PC back on. Everything should be okay at this point.
Still nothing? Well, sorry to hear that, buddy. I guess it’s time to take your Asus monitor and PC to the service center. If all the above methods fail, this is your only option.
Fixing Secondary Asus Monitor HDMI No Signal Issue

Multi-monitor setups are awesome. You can expand your workspace and use many programs simultaneously. For example, you could watch a YouTube tutorial while typing your assignment or codes in CMD.
So, maybe your primary Asus monitor is working fine, but you can’t get the second monitor to output any signal. Keep calm because you’re just a few steps away from experiencing the glory of dual monitors.
Step 1 – Making Sure Your Second Monitor is Functional
Apart from checking the monitor itself, check the HDMI port or DVI cable to ensure everything is okay. If you’re sure that those things are functional, turn on your computer and type “settings” in your taskbar search. Now click the “system” option, and it’ll take you to the display settings.
From there, scroll down and find the “multiple displays” option. Beneath that, you’ll find a button labeled as “detect.” Press that button. If it says “didn’t detect another display,” close the settings menu and restart your computer.
Step 2 – Entering The Bios Menu
Since you have an Asus monitor, let’s assume that you have an Asus motherboard. When the computer starts, you’ll see an Asus logo and some shenanigans written, such as “press F2” or “del.” Press either one of those buttons, and you’ll enter the bios.
Once you enter the bios, press F7. This will take you to the advanced mode, which offers more settings. Now you’ll see lots of menus like my favorites: advanced, AI tweaker, boot, etc. Go to the advanced menu and select system agent (SA) configuration.
Click the graphics configuration option. It’ll bring up a few options, including the iGPU multi-monitor option. By default, it’s disabled. You have to enable it and then press F10. Pressing F10 will save everything so that nothing changes the next time you boot. Now you can exit the bios and reboot your operating system.
Step 3 – Installing The Drivers
Now is the time to check whether your video card and AKA graphic card drivers are up-to-date. Many Windows users skip this important stage.
If you have an Nvidia graphics card, you can get the driver version from the Nvidia control panel. If the Nvidia driver website has the same driver version, then your Nvidia drivers are up-to-date.
Right-click on your “my computer” and click “manage.” After that, click on “device manager.” This will bring up the secondary monitor driver installation menu. You’ll see a strange option with a yellow icon called “other devices.”
Double-clicking on it will reveal another option called “video controller.” Right-click on it and select “update driver,” and then click “Search automatically for updated driver software.”
This will look for the latest software for your secondary monitor. The installation finishes, and, boom, the signal issue is resolved, and your second Asus monitor now has a video signal!
Final Words
We know how frustrating it is when you’re trying to boot up your PC to play your favorite video game, but all you get is “Asus monitor HDMI no signal” on your monitor. Okay, wait. Put the phone down. You don’t need to call the professionals right away.
Fixing these signal issues is very easy if you know how to do it. Today is your lucky day because now you know the right way to diagnose and resolve the problems. We have put all the methods in sequential order, so move to the next one only if the previous one doesn’t work.
With everything said and done, now you can put your Asus monitor to the test and find out why millions of hardware enthusiasts rely on this brand for top-notch monitors.