
Are there a couple of morsels stuck between the keys of your keyboard? Is there some shiny layer on some keys? That is a combination of dust and grease, becoming significantly visible upon viewing it closely. It is known that one should not eat while working on a computer or near a computer but still many of us do so anyway.
Whether munching while checking the e-mails or having lunch while going through some documents, it is spontaneous to apply grease to the keyboard keys. This is irrespective of whether the keyboard is wired, wireless, or of a laptop.
Even if you are caring enough to not eat while at computer work or near the computer, the fingers with natural oil layer eventually will add a coat of stain and filth on the keys. Obviously, our hands and fingers are not the embodiment of cleanliness; they are all over the keyboard while at work.
Don’t blame yourself!
It is not your fault, as anything you touch is likely to accumulate residue naturally over time. Although keyboards are designed to ensure continual use, sufficient dust and grease accumulation can end up harming the sensors apart from the keys. It can result in sticking of keys and their malfunctioning too.
This post will not be focusing much on blowing out the dirt and dust from your keyboard or removing some stain. Rather, it focuses on the subtlest and the most obstinate of all messes, which is the human body oil accumulating from hands and fingers, day after day, on the keys of a keyboard.
The Root Cause of Greasiness on the Keyboard Keys

Many people believe that the greasy keyboard is due to the fact that its owner does not maintain hygiene. However, this is not the main reason. Whether desktops, notebooks, or mechanical; the keyboard’s surface easily reveals the greasy impact after using it over time. One of the main factors contributing to this is the keyboard material.
Overview of Keyboard Materials
Before you read how to clean a greasy keyboard, it is essential to know about the different build materials that can make up a keyboard. This is because each material differs in terms of its ability to hold grease.
The keys, especially their caps or top surfaces, are made using three common materials namely, PBT, ABS plastic, and POM. Of all, ABS engineering plastic is the most affordable one but is highly susceptible to being greasy. The other two materials are costlier but tend to trigger less greasy issues. They are used widely in making mechanical keyboards.
As keyboard grease is a common issue in some of the economical ABS keyboards, you can consider investing in a better material if you truly dislike the commonly accumulating grease on keys. However, what if you wish to get rid of the current greasy keyboard? For that, read-ahead…
Cleaning with the Traditional Cleaners
If you are thinking to use some traditional liquid cleaner made for computer peripherals, you may be logically right but not technically. This is because many of them will simply remove dirt and dust but not the grease.
Even worse is that some of these cleaners can even end up erasing the letters on the keys, which can then negatively influence your typing work. So, it is essential to know about the most effective product to use.
Greasy Keyboard Cleaning Prerequisites
The mere thought of cleaning a keyboard can induce uneasiness. This is mainly because of it being an electronic item that is not as easy as cleaning utensils. Fortunately, you are not the first one to think so and certainly won’t be the last one.
Luckily, cleaning the greasy keys is easy regardless of the type of keyboard you have. Before you step into the cleaning action to free the keys from grease, there are some logical precautions to take or preparations to be done. These are as follows:
- Take the backup of your important data on the desktop or laptop. It is always wise to do so.
- Ensure that there is sufficient space as well as time to clean. This task is not something that you can do while traveling. If a desktop keyboard gets damaged due to insufficient space, you can replace it to resolve it. However, in the case of a laptop keyboard, you will run into a relatively bigger issue.
- Do switch off the desktop or laptop before cleaning. There should be no accessories attached to it such as a flash drive or a dongle. In the case of a laptop, do also remove the battery, if it is detachable.
Cleaning a Greasy External Keyboard
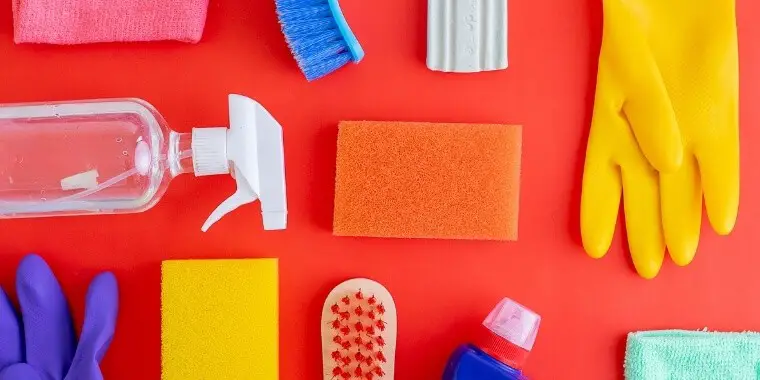
As the name indicates, an external keyboard attaches itself to a computer via a wire or a USB cable. It could be wired or wireless. To clean a greasy external keyboard, you need the following supplies encompassing the cleaner and materials:
- Two pieces of microfiber or lint-free cloth
- Diluted rubbing alcohol, also known as isopropyl alcohol (as a cleaner)
- Cotton pads
Using a cloth with diluted isopropyl alcohol or putting a few drops of it on a cloth is considered ideal for removing grease and oil stains. You can easily purchase it in a pre-diluted form. Alternatively, you can dilute it at home using de-mineralized water.
Never Use a Concentrated Isopropyl Alcohol
No matter which of the two ways you prefer for using diluted rubbing alcohol, just ensure that you never use a concentrated one. This is because alcohol is likely to harm the plastic build material of which the keyboard is made. While 30% of alcohol or less is considered safe for sensitive surfaces, 50% is perhaps considered as the maximum benign mix for the keyboard surfaces.
Before removing the grease, you need to remove the rigid dirt and dirt that is present in hard-to-access spots. For this purpose, you may prefer buying a can of compressed air, as it is known for blowing away dust from the hard-to-access spots. You may also need a pair of tweezers to scrape the accumulated dirt.
Once this is done, perform the following steps to remove the grease.
- Disconnect the keyboard.
- Move the keyboard upside down so that any loose residue comes out on its own. You can even blow this additional residue with a can of compressed air if you have it.
- Dip a cotton pad in rubbing alcohol. It should not be dripping although it should be wet.
- Clean the area around the keys with the dampened pad.
- Throw the pad into the dustbin once it accumulates sufficient grease and dirt.
- Take one more dampen pad and clean the keys and their surrounding areas. You may need a couple of pads to remove grease from around all the keys. During this time, if you spot any rigid dirt, consider removing it by carefully using a pair of tweezers.
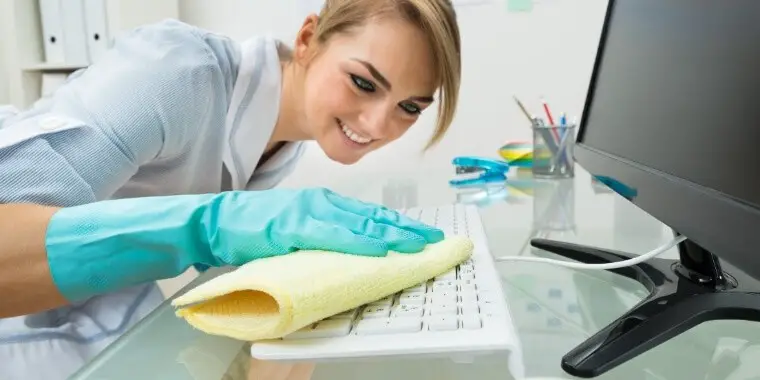
- Dampen the clean cloth with rubbing alcohol (not dripping).
- Clean the top surface of all keys using it along with the surrounding areas.
- Polish the keyboard by wiping it with a dry cloth.
You can even remove the grease if it has reached beneath the keys by removing them. However, this is possible only if your keyboard allows detaching individual keys. If possible, it is truly commendable, as you can thoroughly clean each key more effectively.
Just go through your keyboard manual to find out whether the keys are detachable. If yes, also go through how to do so and how to attach the keys again. If you proceed with this, consider taking a photo of the keyboard so that you can place the keys back into their right locations. Once cleaned, ensure that you allow the keys to dry prior to attaching them back.
Cleaning a Greasy Laptop Keyboard

Unlike an external keyboard, a laptop keyboard is fit into a netbook or a laptop. To remove grease from such a keyboard, you need a clear low-adhesive tape, a dry cloth, and a couple of disinfecting wipes. That’s it! Even here, you can use a can of compressed air but it is not mandatory. Following are the steps to perform once all the aforementioned supplies are in hand:
- Turn off the netbook or laptop.
- Remove all external USB devices, if attached.
- Remove the battery, if it is possible, as not all batteries are removable.
- Move the keyboard upside down so that any loose residue comes out on its own. You can even blow this additional residue with a can of compressed air if you have it.
- Pick the extra dirt by using the sticky side of the clear tape. It is also recommended to stick the tape beneath the keys as far as possible and move it around for a deep clean.
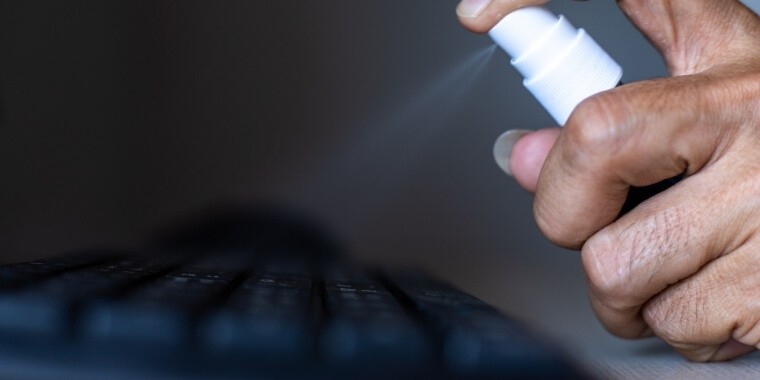
- Clean the keys and their top surfaces by using the squeezed disinfecting wipes and applying light palm pressure on them. You may have to squeeze the wipes to decrease the moisture, as you should not soak the keys or board with the liquid. The aim here is just to have a quick pass.
- Polish the board by wiping it using a dry cloth.
- Allow the keyboard to dry fully.
- (Optional) Put a silicone cover over the keyboard so that no dirt, spills, grease, or debris can accumulate on and around keys in the future.
Cleaning a Greasy Mechanical Keyboard
If you have a mechanical keyboard whose keycaps appear seriously greasy, the best fix is to replace the keycaps. Usually, such a keyboard comes with additional keycaps as well as key pullers. As a mechanical keyboard is made using an individual mechanical shaft, cleaning it is usually more convenient than a non-mechanical one.
While cleaning a mechanical keyboard, apart from replacing the keycaps, you should take apart the whole keyboard and clean it to defend the shaft body.
You can directly rinse the removed keycaps in water mixed with a detergent. For removing the dirty stains on the keyboard’s main body, just wipe the body using a towel soaked in 99% alcohol. Once cleaned, allow the keycaps and the main body to dry. Once dried, you can put back the keycaps.
In the case of a standard film keyboard that has become greasy, it is not easy to remove the keycaps. In that case, consider using a wet towel for cleaning. For a few durable keyboards, it is easy to get greasy over a long period. So, here, you get the benefit of not cleaning frequently.
Cleaning Stubborn Grease
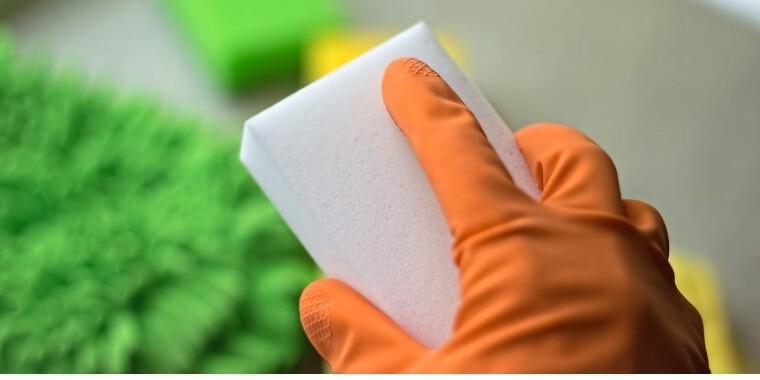
At times, you will see keyboard spots with rigid built-up of oils, grease, skin cells, food residue, and dust. In this case, you can first try removing it using disinfecting wipes. If they do not work, it is ideal to use a melamine sponge that can remove such stubborn filth.
If desired, you can cut the sponge into two halves and use it for cleaning. You start by soaking it in water and allowing it to dry well so that no lines of water are left on the keyboard.
Then, you rub a sponge’s corner on the sticky or stained areas of the keys gently. It is essential to proceed slowly here, as melamine is abrasive by nature due to which it can remove key letters if rubbed quickly.
Don’ts of Cleaning a Greasy Keyboard
- Avoid cleaning a keyboard using calcium removers, spray lime, and steel wool, or else, the letters will vanish at the time of cleaning.
- Avoid putting your keyboard or laptop in a dishwasher. Some users use it to clean computer keyboards. However, most of the time, the chances of damaging it completely are high due to which you then end up buying another keyboard.
- Avoid using a cloth dryer to dry a keyboard.
Conclusion
It is easy to clean a greasy keyboard at home. There is no need to seek professional help. You just need to be a bit careful and slow while cleaning the keyboard, whether it is on a laptop or on a desk. Cleaning the keys thoroughly as well as regularly retains the device’s polish, and that doing so carefully will aid in expanding its lifespan.